Content
Why Bother Learning to Mend? More Than Just Thread
The practical benefits are obvious. Replacing clothes costs money, often significantly more than the few minutes and pennies it takes to execute a simple repair. Think about the cumulative savings over a year if you could fix loose seams, reattach buttons, or hem trousers yourself instead of paying for alterations or buying replacements. It adds up! Beyond the financial aspect, there’s the environmental angle. The fashion industry is notorious for its waste. By mending, you’re actively participating in the circular economy, keeping textiles in use for longer. It’s a tangible way to reduce your footprint. But the advantages don’t stop there. There’s a profound sense of accomplishment that comes from fixing something with your own hands. It connects you to your belongings in a different way. Instead of passively consuming, you become an active caretaker. This self-sufficiency can spill over into other areas of life too. Plus, the focused nature of hand sewing can be surprisingly meditative. The rhythmic motion of needle and thread can be calming, offering a welcome break from the digital deluge of modern life. And let’s not forget creativity! Basic mending can easily evolve into visible mending – turning a repair into a decorative feature using contrasting thread or adding small patches. It’s a way to personalize your clothes and make them truly unique.Getting Started: Your Basic Mending Toolkit
You don’t need to rush out and buy an expensive sewing kit. Start small and gather the essentials. You probably have some of these items already. Here’s what you really need:- Needles: A small pack of assorted hand-sewing needles (often called ‘Sharps’) will cover most fabrics. Different sizes accommodate different thread thicknesses and fabric weaves.
- Thread: Start with basic colours like black, white, navy, and maybe a neutral beige. All-purpose polyester thread is versatile. As you progress, you can get colours to match specific garments.
- Small Scissors: A small, sharp pair of scissors dedicated to cutting thread and fabric is essential. Embroidery scissors work well. Avoid using your kitchen or paper scissors, as they won’t be sharp enough for clean cuts.
- Pins: Straight pins help hold fabric pieces together while you sew.
- Optional but helpful: A thimble (protects your finger when pushing the needle), a seam ripper (for correcting mistakes – it happens!), and perhaps a measuring tape.
Verified Tip: Always opt for good quality thread, even when starting out. Cheaper thread tends to shred, tangle, and break easily, which leads to immense frustration and less durable repairs. Investing a few extra pennies in a reputable brand of all-purpose thread will make your sewing experience smoother and your mends much stronger.
Fundamental Techniques Anyone Can Master
Armed with your basic kit, let’s dive into some core skills. Remember, practice makes perfect, so don’t be discouraged if your first stitches aren’t runway-ready. Start with scraps of fabric if you’re nervous.Threading the Needle and Tying a Knot
This sounds simple, but it’s the foundation. Cut a length of thread (about 18-24 inches is manageable – longer threads tend to tangle). Moisten the very tip of the thread slightly (or cut it cleanly at an angle) and push it through the eye of the needle. Pull about 6 inches through. Now, take the long end of the thread, loop it around your index finger once or twice, roll the loop off your finger using your thumb, and pull the end tight to create a knot. This knot anchors your stitching.Sewing on a Button
This is perhaps the most common mending task. It’s easier than you think!- Mark the Spot: Use the remaining buttons as a guide, or try the garment on to determine the exact placement. A small pencil mark can help.
- Anchor Thread: Push your threaded needle (with the knot tied) from the back of the fabric to the front at the marked spot. Make a tiny stitch or two right on the spot to secure the thread before starting on the button itself.
- Attach Button: Place the button over your anchor stitches. Push the needle up through the fabric and through one hole in the button. Go back down through another hole and through the fabric.
- Create a Shank (Optional but Recommended): For buttons that need a little space between the fabric and the button (like on shirt cuffs or coats), place a pin or toothpick across the top of the button, under the thread, as you sew. Stitch through the holes several times (4-6 passes is usually enough). Before tying off, remove the pin/toothpick. Wrap the thread tightly around the stitches underneath the button several times – this creates a ‘shank’ or stem, allowing the button to sit properly.
- Secure: Push the needle back to the underside of the fabric. Make several small stitches close together, looping the thread through itself to create a final knot. Snip the thread close to the knot.
Fixing a Small Straight Tear (Running Stitch & Backstitch)
For simple rips along seams or straight tears in woven (non-stretchy) fabric:- Prep: Trim any frayed edges neatly. Iron the area flat if possible. Pin the edges of the tear together, aligning them carefully.
- Running Stitch (Quick & Basic): Starting from the back, bring your knotted needle up slightly before the tear begins. Make small, even stitches by pushing the needle in and out of the fabric along the tear line. It looks like a dashed line. This is quick but not the strongest.
- Backstitch (Stronger): Bring the needle up from the back a little way into the tear. Take a stitch backward (towards the start of the tear). Bring the needle up again a little further along the tear line. Take another stitch backward, inserting the needle into the same hole where the previous stitch ended. Repeat. This creates a continuous, strong line resembling machine stitching. It’s excellent for reinforcing seams.
- Finish: When you reach the end of the tear, secure the thread on the back with a few small knot stitches.
Basic Hemming (Blind Hem Stitch)
Trousers or skirts too long? A simple hand-sewn hem is achievable.- Measure & Press: Try on the garment with the shoes you’ll wear. Fold up the excess fabric to the desired length and pin it securely. Take the garment off carefully. Measure the folded hem allowance to ensure it’s even all around. Press the fold firmly with an iron.
- Fold Again (Optional Double Fold): For a neat finish and to enclose the raw edge, fold the raw edge under towards the pressed crease, creating a double fold. Press again.
- Stitch: Thread your needle and knot it. Working from the inside, hide the knot inside the hem fold. Pick up just one or two threads from the main garment fabric with your needle. Then, take a slightly larger stitch (about 1/4 inch) through the folded edge of the hem only. Continue this pattern: tiny stitch in the garment, larger stitch in the hem fold. This creates a nearly invisible finish on the outside.
- Secure: Knot the thread securely inside the hem fold when you’re done.
Where to Go Next?
Once you’ve mastered these basics, the world of sewing opens up. You might explore:- Mending Knits: Stretchy fabrics require different techniques (like a catch stitch) to avoid puckering.
- Patching: Both functional (covering larger holes) and decorative (visible mending).
- Basic Alterations: Taking in a simple seam, adding darts.
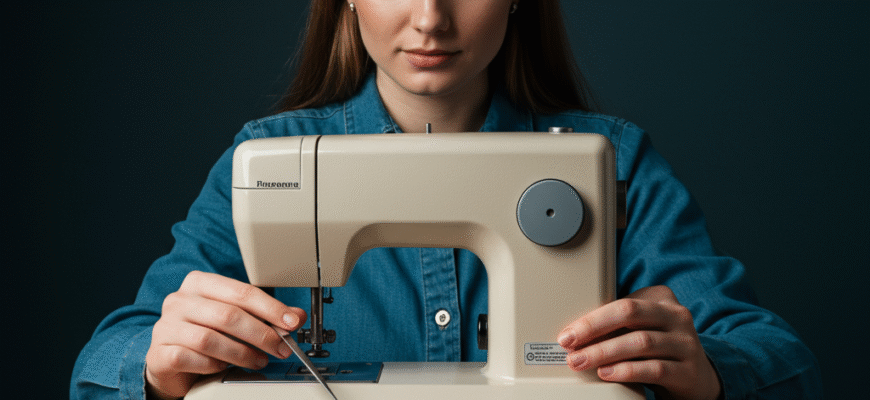
- Using a Sewing Machine: If you find you enjoy sewing, a machine speeds things up considerably for larger projects, though hand sewing remains invaluable for quick mends and fine details.
Important Note: Always work in good light to avoid eye strain and ensure accuracy. Keep your sharp scissors and needles safely stored away from children and pets. Take breaks if your hands or eyes feel tired, especially when learning.