Content
Assembling Your Construction Materials
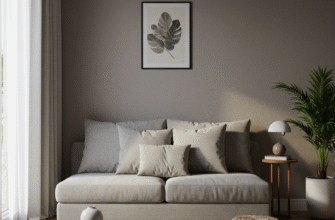
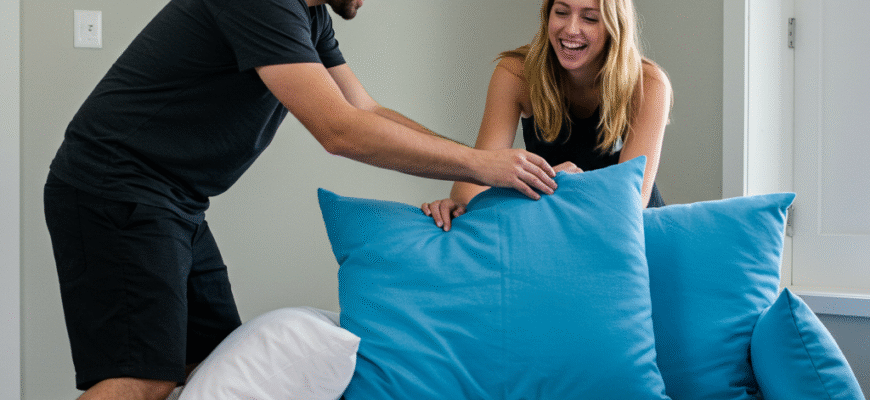
The first step is the glorious gathering phase. Raid the linen closet, scour the bedrooms, liberate the couch cushions! Quantity and variety are your friends here.- Pillows: The cornerstone, obviously. You need structural pillows (firmer ones, maybe couch back cushions) and comfort pillows (soft, squishy ones for inside). Different shapes and sizes add architectural interest (and stability).
- Blankets: Aim for a mix. Heavier blankets and duvets make excellent, light-blocking walls and provide structural integrity when draped over furniture. Lighter sheets are perfect for roofs, as they are less likely to cause catastrophic collapses. Throws can fill gaps or add interior decoration.
- Furniture Anchors: Sofas, armchairs, sturdy dining chairs, coffee tables, even bookshelves (use caution!) can form the skeleton of your fort. Look for items you can drape blankets over or clip things onto. Chairs placed back-to-back create excellent tunnels or support beams.
- Fasteners: These are crucial for holding your fabric empire together. Clothespins are classic, but spring-loaded plastic clips or even sturdy binder clips often have a stronger grip, especially on thicker blankets. Safety pins should be avoided. Sometimes, carefully tucking fabric under heavy books placed on tables works wonders. Soft string can be used sparingly to tie sheet corners to chair legs, but ensure it’s easy to undo.
- Extras (Optional Genius): Laundry baskets can become towers or hidden rooms. Pool noodles (if you have them) make surprisingly good, lightweight structural arches when bent gently. Cardboard boxes can be incorporated as tunnels or reinforced walls.
Scouting the Perfect Location
Where will your magnificent structure rise? Consider the following:- Space: The living room often offers the most square footage and furniture options. A large bedroom can also work well, offering inherent coziness.
- Anchorage Points: Look for rooms with plenty of sturdy furniture that can be rearranged slightly to form the outer perimeter or internal supports of your fort.
- Foot Traffic: Ideally, choose a spot that won’t be constantly disturbed. A corner location is often ideal, utilizing two existing walls as part of your structure (less building required!).
- Flooring: Carpet is naturally cozier, but a rug can easily soften a hardwood floor within your fort’s interior.
Construction Phase: Raising the Walls and Roof
Now for the main event. There’s no single right way, but here’s a reliable process:Step 1: Build the Framework
Arrange your furniture anchors. Place chairs strategically – perhaps four dining chairs facing outwards to create a central square, or two armchairs spaced apart with a coffee table between them. Use the sofa as a main wall or anchor point. Think about headroom – you want to be able to crawl in comfortably, maybe even sit up in some areas. Drape the heaviest blankets over the gaps between furniture pieces first. These form your main structural walls.Step 2: Secure the Walls
This is where your clips come in. Secure the blankets to the tops of chairs, tuck edges under couch cushions, or clip them together where they overlap. Don’t stretch things too tautly initially; you need some slack for adjustments. Ensure the base is reasonably secure – you don’t want walls collapsing inwards easily.Step 3: Add the Roof
Use your lighter sheets for the roof. Drape them carefully over the highest points of your framework (like the backs of chairs). Overlap sheets generously to avoid gaps. Secure the edges with clips or by tucking them. If the roof spans a large area, it might sag. You can introduce an internal support – perhaps another chair placed inside, or even a lightweight broom handle propped up carefully (ensure it’s stable!). Sometimes, multiple smaller roof sections are more stable than one large one.Step 4: Refine and Reinforce
Crawl inside. Look for gaps letting in too much light (unless you want windows!). Use smaller throws or leftover pillows to plug holes, especially near the ‘floor’. Check the stability of your main anchor points. Add more clips where needed. Gently push on the walls – do they hold? Adjust tension as necessary.Troubleshooting Common Fort Failures
Even master builders face setbacks. Here’s how to tackle them:- The Sagging Ceiling: Too much weight or too wide a span. Solution: Use lighter sheets for the roof, add more internal supports (a chair, a stack of sturdy boxes), or reduce the span by bringing anchor points closer.
- Collapsing Walls: Anchors aren’t secure, or blankets are pulled too tight. Solution: Double-check clip strength, ensure blankets are securely tucked under furniture weight, reinforce corners by overlapping fabrics, or use more anchor points.
- Accidental Demolition Upon Entry/Exit: Doorway design flaw! Solution: Create a more defined entrance, perhaps using two chairs slightly apart with a blanket draped over, ensuring the entryway fabric isn’t load-bearing for the main structure. Reinforce the areas around the entrance.
- General Instability: Trying to go too big too fast. Solution: Start smaller, ensure each section is stable before expanding, use more overlapping materials for reinforcement.
Interior Decor: Creating Maximum Coziness
The structure is up, but the magic happens inside. It’s time to furnish your fabric abode.h3>Essential Comforts
Layer the floor generously. Use a spare duvet, sleeping bags, soft blankets, and lots of pillows. Create designated zones – a reading nook piled high with cushions, a central lounging area. Comfort is paramount. You should want to curl up and stay awhile.h3>Magical Lighting
Lighting transforms a simple fort into an enchanting hideaway. Battery-powered fairy lights are the absolute best option – they provide a warm, magical glow and are safe. Drape them along the ‘ceiling’ or walls. Flashlights are essential for navigation and spooky stories. A reading lamp placed *outside* the fort, aimed towards a thinner sheet section, can provide good ambient light without being inside. Avoid candles or any lighting that gets hot.Fort Safety First! While fun is the goal, keep a few things in mind. Ensure good air circulation, especially if you plan to spend a long time inside; leave small gaps or use breathable fabrics. Only use battery-operated lights like LEDs or flashlights – never use mains-powered lamps inside or anything that generates heat, like candles, due to fire risk. Make sure the structure isn’t relying on unstable objects that could fall, and always ensure there’s an easy way to get out quickly if needed.
h3>Stocking the Larder (and Library)
What’s a fort without supplies? Bring in snacks (choose less crumbly options to minimize mess – think grapes, gummy bears, pretzels), drinks in spill-resistant bottles or cups with lids, a stack of good books or comics, maybe a portable speaker for some music, or a tablet queued up with movies. A small box or basket can keep these items organized.h3>Personal Touches
Make it truly yours. Draw a ‘Keep Out!’ sign for the entrance. Bring in a favourite stuffed animal. If you’re feeling ambitious, create ‘windows’ by strategically leaving gaps or using a very thin, light-coloured sheet in one section.Living the Fort Life
You’ve built it, you’ve decorated it, now enjoy it! The possibilities are endless and beautifully simple:- Read a book by flashlight.
- Tell stories (ghost stories are traditional fort fare).
- Have a secret meeting (even if it’s just with yourself).
- Watch a movie on a tablet, creating your own mini cinema.
- Play card games or simple board games.
- Draw or write in a notebook.
- Take a nap in the cozy darkness.
- Simply lie there and enjoy the feeling of being hidden and snug.
- Conduct important snack research.