Feeling that itch to improve your photography but stuck indoors? Don’t let the four walls of your home fool you into thinking your camera needs to gather dust. Your house is actually a fantastic, readily available studio packed with opportunities to hone your skills. Forget expensive trips or elaborate setups for a moment; the real learning often happens when you work with limitations and see the familiar in a new light. Let’s explore how you can transform your living space into a photographic playground.
Mastering the Light Within
Light is the absolute bedrock of photography, and your home offers a diverse range of lighting scenarios to practice with. Forget fancy strobes for now; start with the most powerful and versatile light source available: the sun, even just filtering through your windows.
Window Light Magic
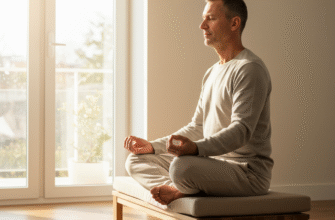
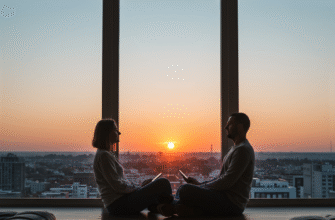
Position a subject – anything from a simple piece of fruit to a favourite mug or even a willing family member – near a window. Observe how the light changes throughout the day. Morning light is often soft and diffused, while afternoon sun can be harsh and create strong shadows. Practice shooting with the light coming from the side (side lighting), which sculpts your subject and reveals texture. Try backlighting, where the light comes from behind the subject, creating silhouettes or beautiful rim lighting. Front lighting, with the light source behind you, tends to flatten subjects but can be useful for clear documentation. Experiment with diffusers – a thin white curtain or even a sheet of baking paper held up can soften harsh sunlight beautifully.
Working with Artificial Light
Don’t shy away from the lamps and overhead lights in your home. While often less flattering than natural light, learning to work with them is a valuable skill. Notice the colour temperature – household bulbs often cast a warm, yellowish or orange hue. You can correct this using your camera’s white balance settings (or fix it later in editing), or you can embrace the warmth for a cozy mood. Try using a single lamp to create dramatic shadows (chiaroscuro effect). Bounce the light off a white wall or ceiling to soften it and spread it more evenly. Mix light sources – maybe window light combined with a desk lamp – and see how they interact.
Finding Subjects in the Mundane
Think there’s nothing interesting to shoot at home? Think again! The key is to change your perspective and look closer.
The Humble Kitchen
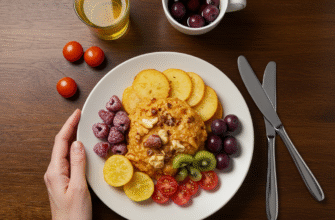
Your kitchen is a treasure trove. Think textures: the weave of a dish towel, the bubbles in boiling water, the condensation on a cold glass, the rough skin of an orange. Practice food photography – arrange some ingredients, capture the steam rising from a hot drink, or focus on the details of cutlery and crockery. Water droplets on freshly washed vegetables or the patterns flour makes on a countertop can be surprisingly photogenic.
Living Room Details
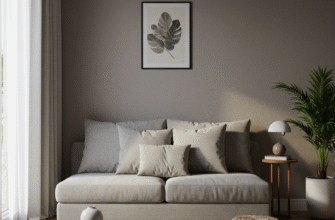
Explore the textures of sofa fabric, the spines of books on a shelf, the patterns on a cushion, or the way light catches dust motes floating in the air (best seen against a dark background with strong back or side light). Remote controls, decorative objects, houseplants – they all offer potential. Look for repeating patterns or interesting juxtapositions of objects.
Abstract and Macro
Get close! Use a macro lens if you have one, or simply use the closest focusing distance of your standard lens. Focus on the intricate details: the threads in a carpet, the grain in wood furniture, the centre of a flower (even a wilting one can be interesting), peeling paint, or the frost patterns on a window in winter. Abstract photography is all about shapes, lines, colours, and textures, divorced from the object’s everyday identity. Your home is full of these possibilities.
Composition and Technical Drills
Your house provides a safe space to experiment without pressure. Use this time to consciously practice fundamental techniques.
Rule of Thirds and Beyond
Instead of just snapping away, actively compose your shots. Imagine your viewfinder divided into nine equal segments by two horizontal and two vertical lines. Try placing key elements of your subject along these lines or at their intersections (the ‘power points’). This often creates a more balanced and engaging image than simply centering the subject. But don’t stop there! Practice using leading lines (like the edge of a table, a hallway, or patterns on the floor) to draw the viewer’s eye into the image. Frame your subject using doorways, windows, or even objects in the foreground.
Depth of Field Experiments
Understanding aperture and its effect on depth of field (how much of your image is in sharp focus) is crucial. Practice shooting the same subject multiple times, changing only the aperture (f-stop). Use a wide aperture (like f/1.8 or f/2.8) to get a shallow depth of field, blurring the background and making your subject pop. Then, use a narrow aperture (like f/11 or f/16) to get a large depth of field, keeping both the foreground and background sharp. A row of books or objects on a shelf is perfect for this exercise.
Verified Tip: Natural window light is often considered the most flattering light source for indoor photography. Positioning your subject 45 to 90 degrees relative to the window typically produces soft shadows that define shape and add dimension. Remember that the intensity and colour of window light change dramatically throughout the day, offering varied moods without moving your setup.
Mastering Manual Mode
If you usually shoot in Auto, now is the time to venture into Manual (M) mode, or at least Aperture Priority (Av/A) or Shutter Priority (Tv/S). Your home offers relatively stable conditions to practice adjusting ISO, aperture, and shutter speed and understanding the exposure triangle. Set up a simple still life and experiment: How does changing the shutter speed affect motion blur (try waving your hand through the frame)? How does increasing ISO introduce noise? How does aperture change the brightness and depth of field? Take notes if it helps!
Still Life Setups
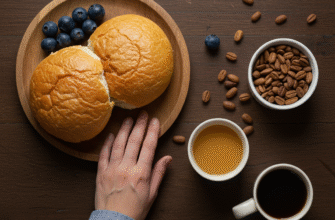
Creating a still life is a fantastic way to control every element of your shot. Gather a few objects – fruit, books, tools, trinkets – and arrange them on a table near a light source. Think about composition, colour harmony, and how the light interacts with the objects. You can spend hours refining a single setup, adjusting the lighting, the arrangement, and your camera settings. It’s like a mini-studio session right in your dining room.
Don’t underestimate the power of practice within your own space. By focusing on light, seeking out details, and consciously applying compositional and technical principles, you can significantly improve your photography without ever stepping outside. It trains your eye to see differently, to find beauty in the everyday, and builds a solid foundation of skills that will serve you well wherever your camera takes you next. So grab your camera, look around, and start shooting!

